Packt always gives away a chapter from its book.
This is the free chapter from my book Getting Started with Microsoft Lync Server 2013
Here you are able to download the PDF version Chapter 6 – Deploying Persistent Chat Server
Persistent Chat Server is a new functionality of Lync 2013 (Lync Server 2010 had the group chat that was really different). Persistent Chat enables chat and IM conversations to be continued over time. Some of the more interesting new features related to Persistent Chat in Lync 2013 are the administrative interfaces integrated in the Lync Server Control Panel, the deployment managed through the Topology Builder, and the new solutions dedicated to high availability. Persistent Chat is a Lync role that can live by itself as a single server or as a dedicated pool, but the Persistent Chat Front End could also be collocated with a Lync Server 2013 Standard Edition.
Why Persistent Chat
The main advantage of the Persistent Chat Server, over a normal mail communication, is that all the flow of communication is always available, giving also to people that will take part to the conversation in a second time, the opportunity to read all the information that has been exchanged. Persistent Chat is also powerful as a single point where all the users interested to a certain project are sure to find the data they need. Scenarios like brainstorming and sharing information between employees with different working places and working shifts are the best ones for such a feature.
Chat Rooms
All the conversations are organized inside “rooms”, virtual containers in which the persistent chats are stored.
Persistent Chat Server Installation
Depending on your Lync deployment, the Chat Server has to be deployed as a dedicated pool (with Lync Enterprise Edition) or can be collocated (Lync Standard Edition). The Persistent Chat requires a dedicated instance on a database (mandatory in the first scenario) or could also be collocated on the local SQL Express (in the second situation). In our example we will deploy the service on a Standard Edition server but the database will be on a separate SQL server with a dedicated instance.
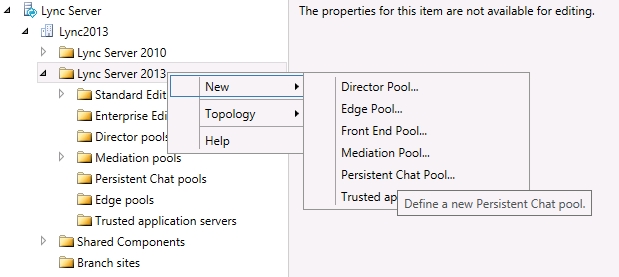
- The first step, as we can see, will be performed in the Topology Builder, defining a new Persistent Chat Pool (the menu is the same, also if we will collocate the role)
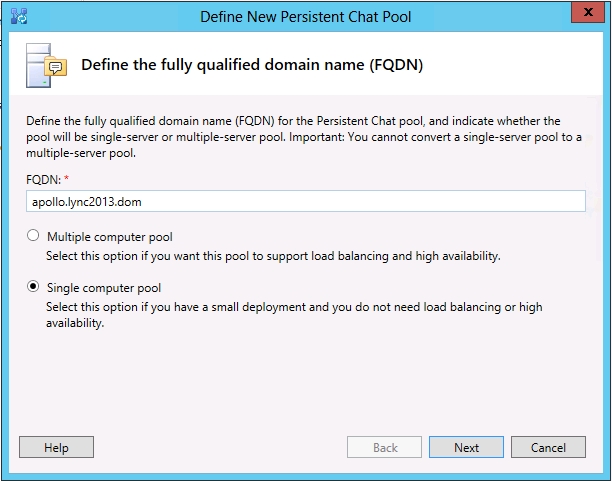
- In a Standard Edition scenario, the FQDN is the name of the Lync Front End server where Persistent Chat will be collocated (see next image)
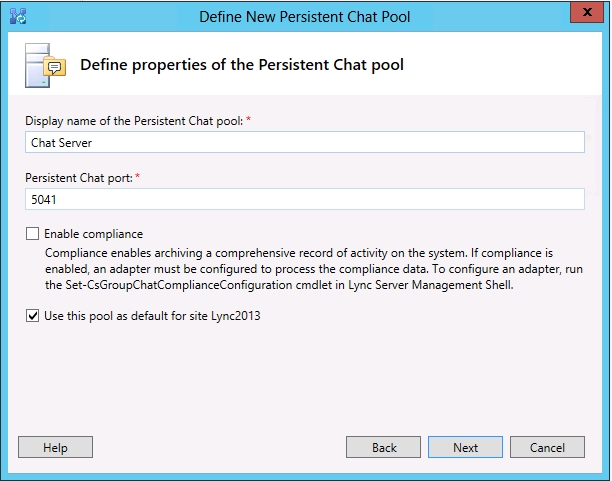
- The next screen will require a display name that has no impact on the configuration. The compliance flag is important if our company needs to follow established guidelines, specifications, or legislations that require a record of our company’s chat / IM activities. If we want to use this feature a Compliance service will be collocated on our Front End server. The compliance feature requires also an additional database (mgccomp) that we can collocate in the SQL instance where the Persistent Chat database (mgc) is installed (or in the SQL Express database of the Standard Edition server if we want to keep the number of servers as low as possible).
- The wizard will then require to define the SQL Server Store. Next configuration is related to the File Store (a copy of any file uploaded will be saved there). The user that is performing the configuration needs to have full control on the folder (Topology Builder will need this kind of access to configure a set of permissions). It is mandatory for the path to be a UNC if we have more than a Persistent Chat server, or else we are able to select a local path too. In the next screen we have preferred to use an UNC, also if the folder is a local one.
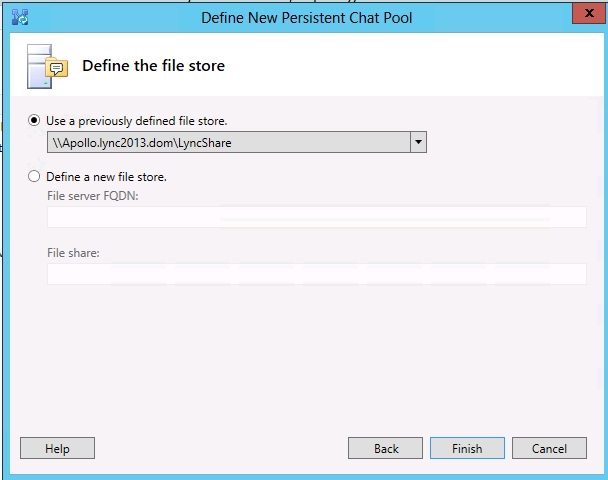
- If we are happy with the configuration (in our example, the one shown in the screenshot) we are able to publish the topology as we have done in the previous chapters.
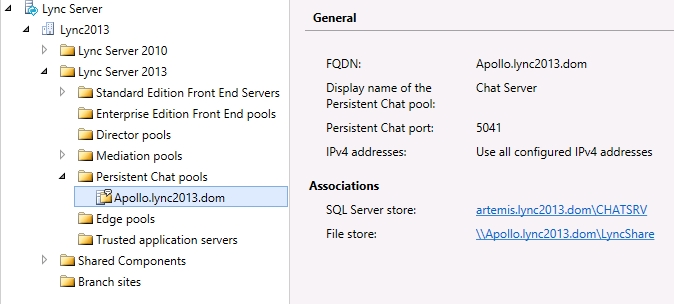
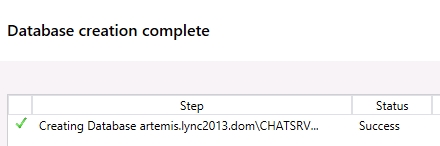
- The Topology Builder will also create the Persistent Chat database as presented in the next figure)
Managing Categories, Chat Rooms and Privacy
All the conversations in Lync 2013 Persistent Chat are organized in “rooms”. Rooms could be used as a logical separation between different topics and working groups. In every room we will find messages, attachments and information that have been added over time. Characteristics and management of the rooms are dictated by Categories, that we define through the administrative tools of Lync. The first mandatory step is to define a Category, as we can see in the next image this can be done using the Control Pannel.
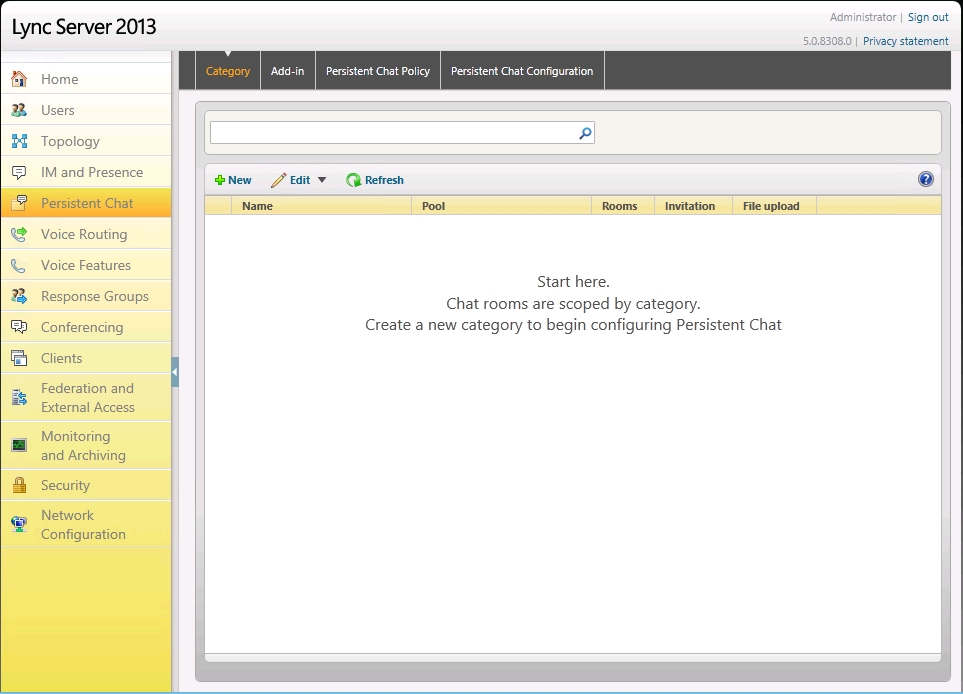
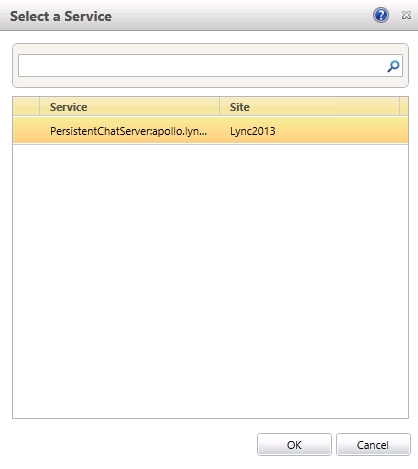
- The first step (shown in the next screenshot) is to select the chat service that we are going to work on (because we could have deployed more than a service or Persistent Chat pool)
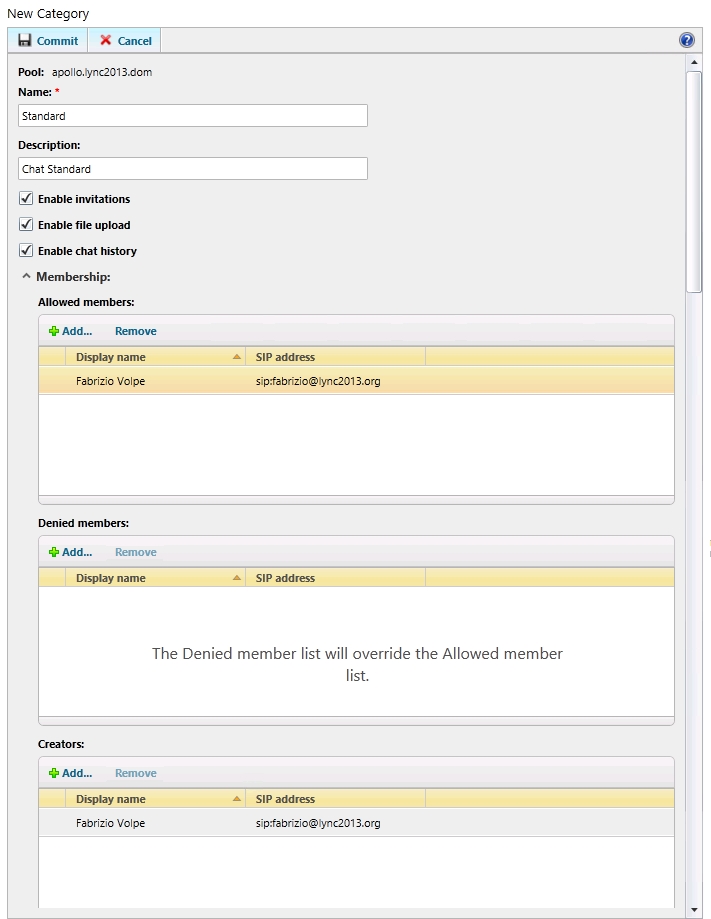
- We are able to define a name for the category, related features like invitations and uploads and a list of members (allowed to participate to rooms in such a category), denied members (that will be excluded) and creators (that will be able to create rooms in the category and are receiving this way a sort of “delegation” in the management of Persistent Chat).
As you can see in the next image we have some options:
- Enable invitations: if selected, rooms may have invitations on or off; if cleared, the rooms are not allowed to have invitations.
- Enable file upload: if selected, the rooms can enable or disable file uploads; if cleared, the rooms allowed to have file uploads.
- Enable chat history – if selected, room chats become non-persistent.
This is all we have to do in the administrative interface. The remaining part of the work is up to the user, connected from a “full” Lync client (the one included in the Office suite, as explained in the Chapter 7 Choosing Lync 2013 Clients).
Users are able to search for rooms in categories where they are members. An exception are the rooms flagged as “secret” from the room creator. In such a scenario only users that are already members of the room will see the secret rooms in the search.
Now what we are going to do in the next figure is to create a whole new room.
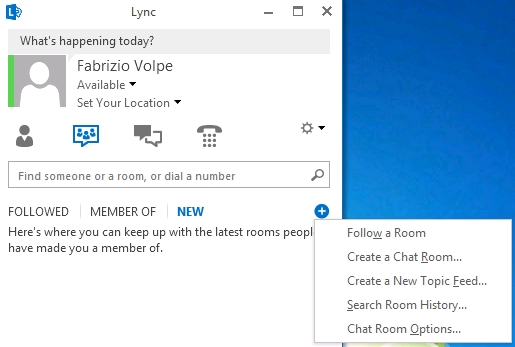
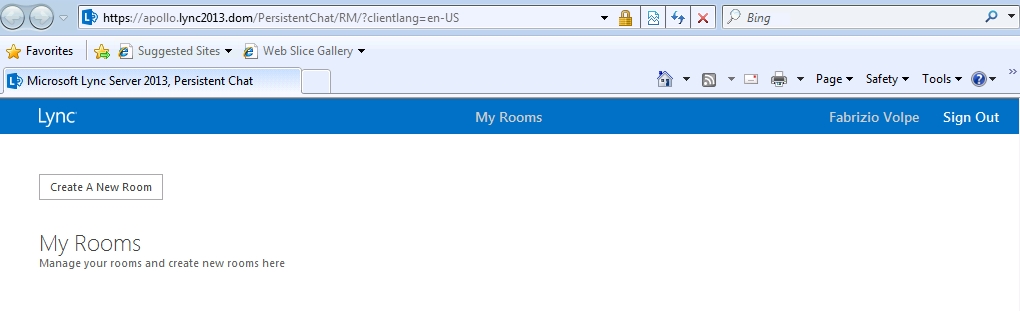
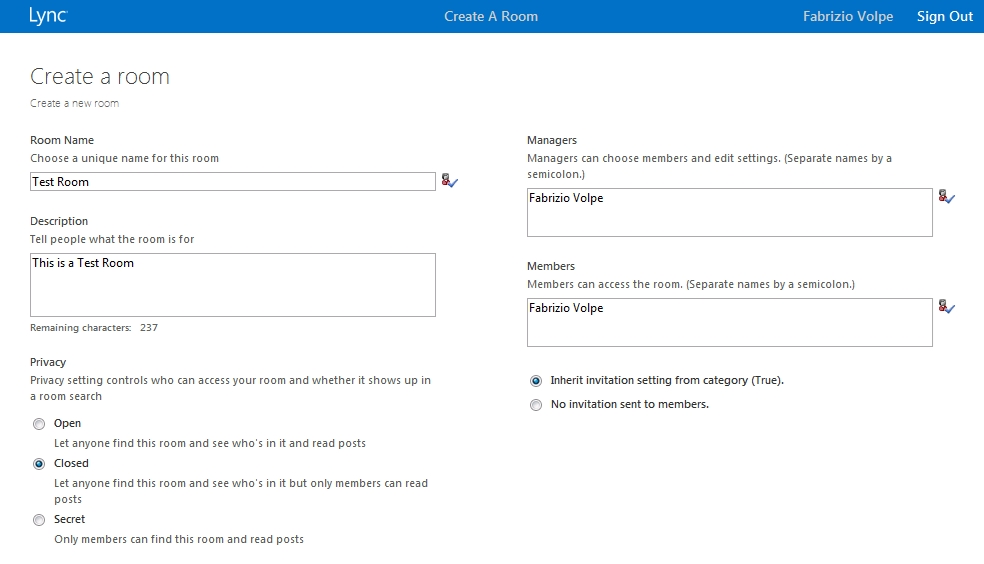
- A web interface will be launched and the user will be able to generate a new room as shown in the next snippet
- The next screenshot shows the options available during the room creation. Privacy options will have an impact on the search and accessibility of the single room, as we have explained before.
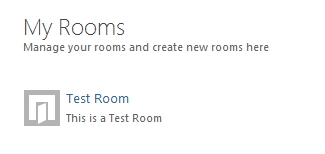
- Now we are able to see a new room in the web interface
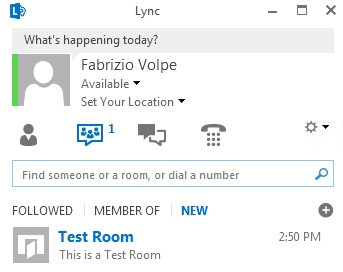
- The room will be shown in the client and we will be able to work inside.
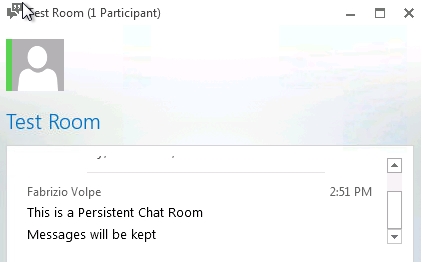
- We will be able to interact in it adding messages, documents and so on as we are able to see in the next image.
Summary
As we have seen during this chapter, Persistent Chat Server is a good base on which we can build knowledge bases and is really interesting to keep information in an organized and easy to use form. The next chapter is focused on the clients. Lync offers a great deal of ways to access its services and we will see all the available versions and solutions we have to give a flexible and easy to use interface to our users.